All you need to make Kefir at home are Kefir Grains and Organic Milk. There are two types of grains available (Milk Grains or Water Grains). Today I am sharing about Milk Grains which ferment either Dairy or Plant-Based Milk in about 24 hours and render Kefir!
Much like a sourdough starter, the grains need to be continuously fed and do multiply. However, you are able to give the grains a “rest” and keep them alive by storing them in the refrigerator with fresh milk for up to a week.
Kefir is somewhat like a thin yogurt so it’s perfect for making nutritious smoothies! This is my favorite way to drink it daily. It’s best to consume on an empty stomach as it has the most beneficial affect on the microbiome. It is great post workout protein drink and perfect to consume before a meal.
What You Need to Get Started:
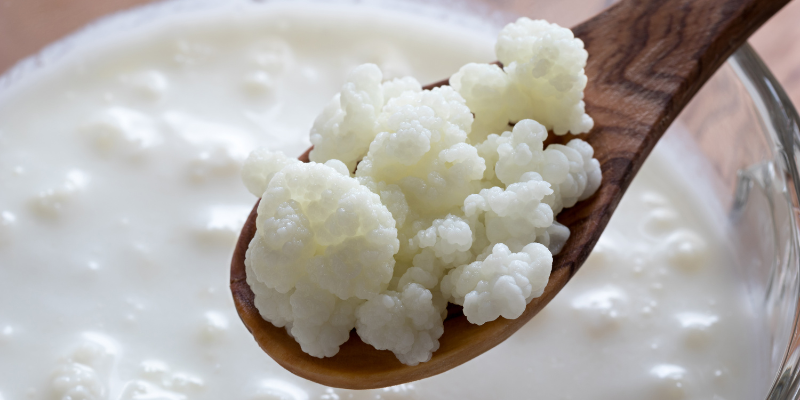
- Kefir Grains (don’t let the name fool you). They look nothing like grains! They are a combination of bacteria and yeast and when formed they look a lot like cottage cheese meets mini white broccoli florets:)
- Glass Canning Jars in various sizes. I started with pint size and am now using quart size jars as the kefir grains multiply (much like a sourdough starter)
- Paper Towel and Rubber Bands
- Stainless Steel Mesh Strainer
- Silicone Spatula
- Organic Whole Milk (1/2 gallon is a great amount to start with)
Kefir RECIPE
- 2 Tbs of Kefir Grains
- 2 cups of Organic Whole Milk
Combine Kefir Grains and Organic Whole Milk in a Quart size Canning Jar. Stir gently with a wooden spoon or silicone spatula. Cut a half size paper towel in 1/2 and place it on top of jar. Secure the paper towel with a rubber band. Place the jar towards the back of your counter and out of direct light. The grains will ferment the milk within 12-24 hours.
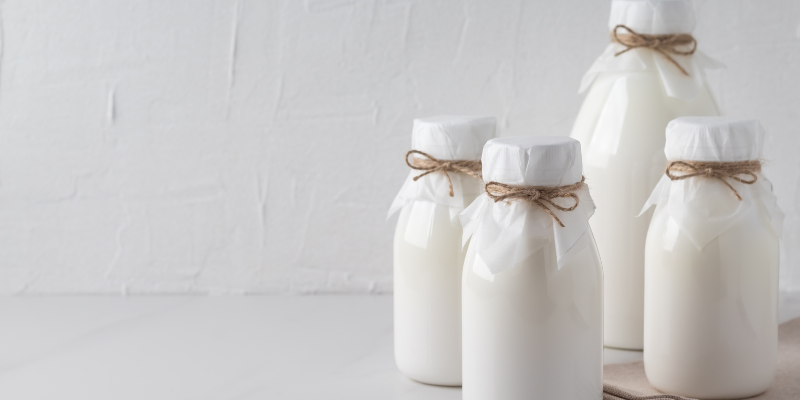
Watch for separation near the bottom of the jar. The grains will also start to accumulate near the top of the jar. Sometimes there will be so much separation at the bottom of the jar you will see clear liquid at the bottom. This is usually a sign that it is ready to be strained.
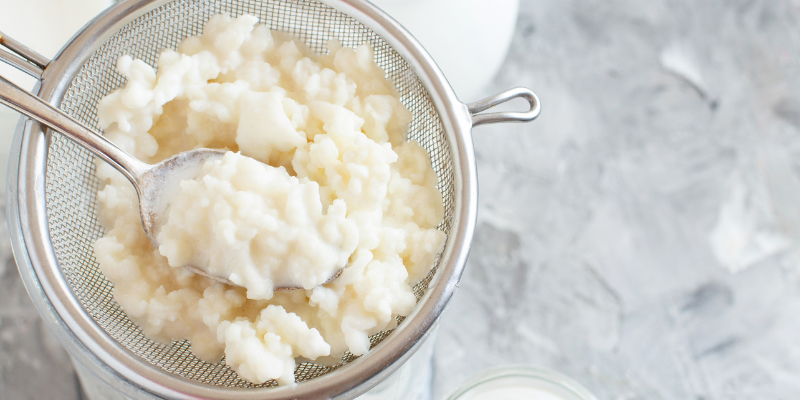
Once separation has occurred and the grains are near the top of the jar, it’s time to pour the kefir through a metal strainer, saving all the grains in the strainer. Use a silicone spatula to help get the thick kefir though the strainer, leaving only the grains. Make sure you scrape off the drippings underneath the strainer.
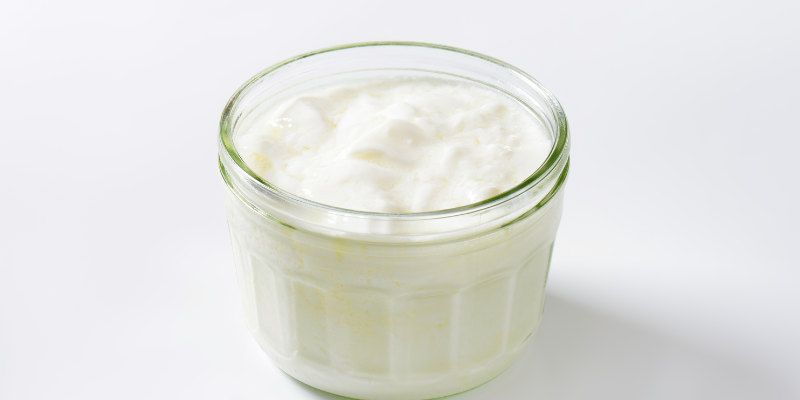
Store your homemade kefir in the refrigerator for up to 2 weeks. Attach a piece of tape to the jar with the date so you can keep track. It is ready to drink at this point, however, if you leave it in the fridge for an additional few days, it will thicken up even more. It will almost turn to the consistency of sour cream or yogurt. When it get thick like this, try using it to make homemade ranch dressing or as a substitute for yogurt in recipe.
Kefir grains do multiply over time so you eventually will be making more than 1 jar or sharing the grains with friends!
Taking a Break: If you need to take a break from making Kefir, simply place the grains in a small glass jar and cover with Organic Whole Milk. I use a glass jelly jar with a plastic lid. Don’t use a metal lid. You can store them for up to one week this way.
Tips: Never put a tight lid on the jar while the grains are fermenting on the counter. The grains need to “breathe” during the fermentation process. A paper towel and rubber band work best to cover the grain and still allow them to breathe.
Experiments: Just for fun, I experimented with The Plant-Based Kefir using Organic Almond Milk, Oatmilk, and even Coconut Milk. The results were a thinner, more pungent, tangier kefir. I tried various brands, fat and carb content, sugar content and nothing compared to the results of Organic Whole Milk Kefir. The good news is the grains did survive all these experiments!
Kefir is somewhat like a thin yogurt so it’s perfect for making nutritious smoothies! This is my favorite was to drink it daily. It’s best to consume on an empty stomach as it has the most beneficial affect on the microbiome. It is great post workout protein drink and perfect to consume before a meal.
Support: I am here to answer any questions you have. Please reach out to me! I will be glad to help you get started. If you give this a try, please leave a comment below. I would love your feedback.
This information is strictly educational. Not intended to treat, diagnose, or prevent illness or disease. It is something that has worked well for me and others I have shared it with along the way. However, you know your body best. If you give it a try, please leave a comment below. I would love your feedback.
Blueberry Kefir Pancakes
I’m going to share a secret… one of my favorite ingredients to bake and create with lately is Kefir! If you have never…
About the Author

I love animals, gardening, and being creative in the kitchen. I can’t waste food and rarely follow the recipe! As a IIN Certified Integrative Nutrition Health Coach I can help you get from where you are to where you want to be. Join me on my journey!





Leave a Reply